> For the complete documentation index, see [llms.txt](https://vn.docs.aiktp.com/llms.txt). Markdown versions of documentation pages are available by appending `.md` to page URLs; this page is available as [Markdown](https://vn.docs.aiktp.com/ai-seo/quan-ly-website/huong-dan-allow-ip.md).
# Hướng dẫn allow IP
Trường hợp website bạn sử dụng plugin Security, hướng dẫn cho phép IP
Trong trường hợp website bạn sử dụng tính năng bảo mật (Security), bạn vui lòng xem hướng dẫn sau.
**Trường hợp 1:** bạn sử dụng Cloudflare để bảo mật.
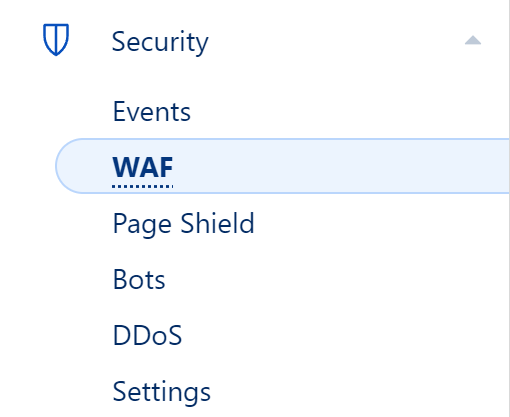
Nếu website bạn sử dụng cloudflare, bạn truy cập vào tài khoản cloudflare, chọn mục Security và bấm chọn WAF
Sau đó chọn Tools
Tiếp tục bạn điền 2 IP sau như hình và bấm nút Add:
**IP 1:** 69.161.221.123
**IP 2:** 69.161.221.173
Sau khi add 2 IP này, bạn quay lại aiktp và có thể thử thêm website lại.
**Trường hợp 2:** bạn sử dụng plugin Security để bảo mật
**2.1 Plugin iThemes Security**
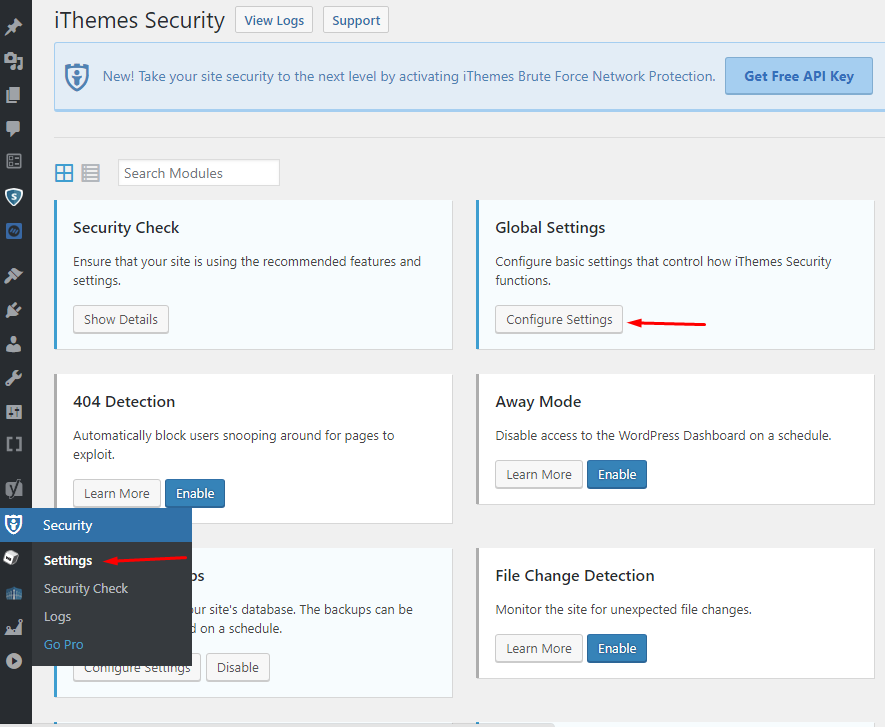
Bạn bấm vào mục Setting và chọn Global Settings như hình
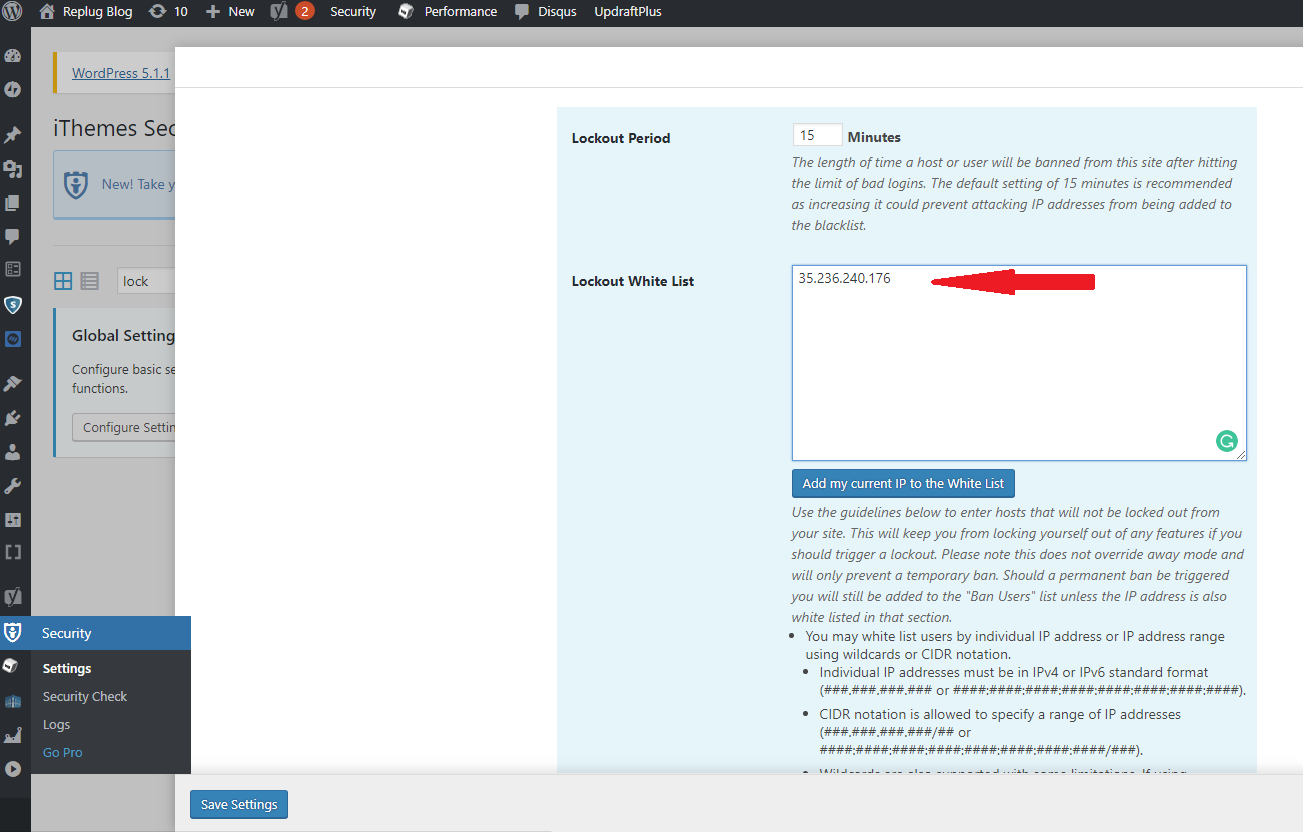
Tiếp bạn điền 2 IP vào ô **White List** và bấm **Add my current IP to the white list** là hoàn tất
**IP 1: 202.61.243.165**
**IP 2: 34.159.163.71**
**2.1 Plugin iThemes Security**